Get free updates and new posts here.
First, prep your body and get “straight.”
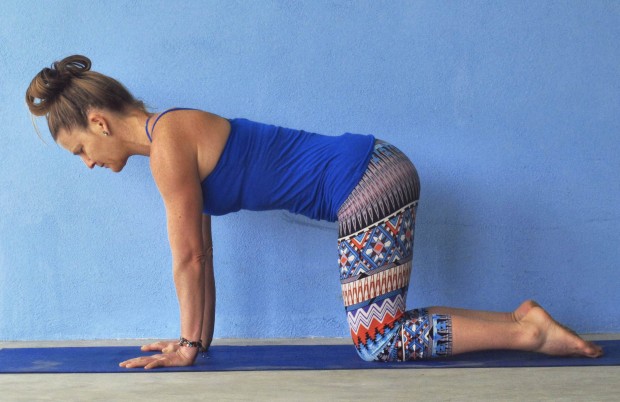
1. Palm push ups– Start on all 4’s with shoulders over wrists and hips over knees.
With as much weight as possible in your hands, push to lift your palms off the floor 10-20 times.
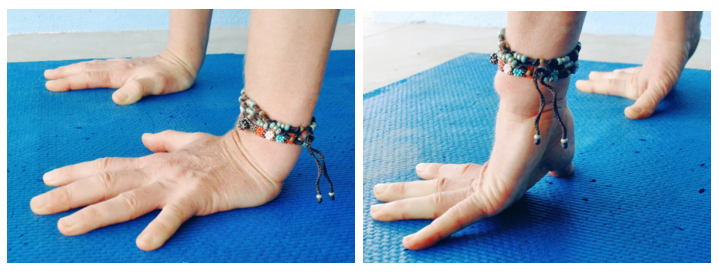
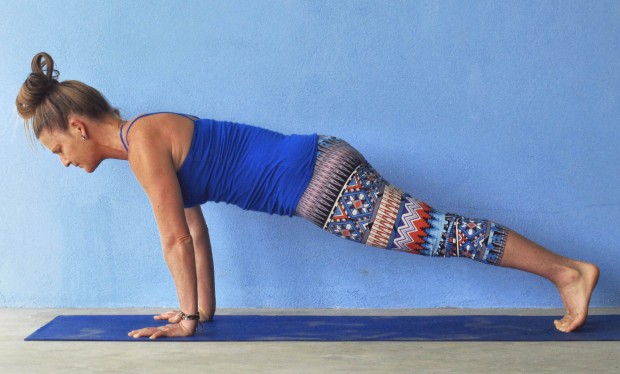
2. Hold plank position for 30 seconds with shoulders over wrists.
Make sure your body is super straight. Pull your ribs up into your body and drop your hips down (to make a straight line). Actively push your fingers and knuckles into the floor like you are trying to smoosh a flea under your knuckles.
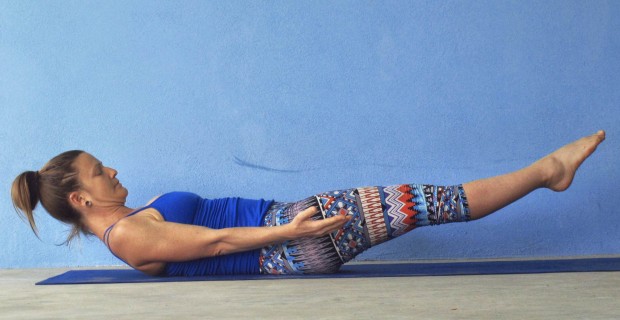
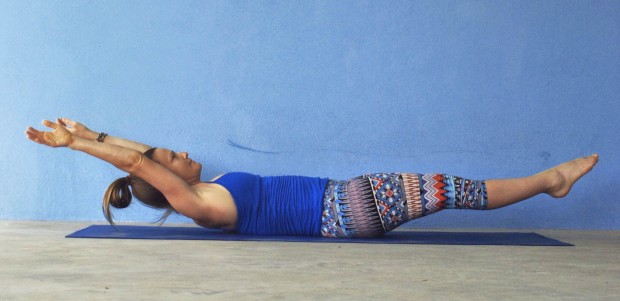
3. Lay on your back and hold “hollow body” for 1 minute.
Keep your lower back and hips on the floor, and lift your shoulder blades and legs off. If you can’t hold for the whole minute, bend your knees and put your feet on the floor. When this becomes easy, reach your arms over your head keeping your shoulder blades off the floor.
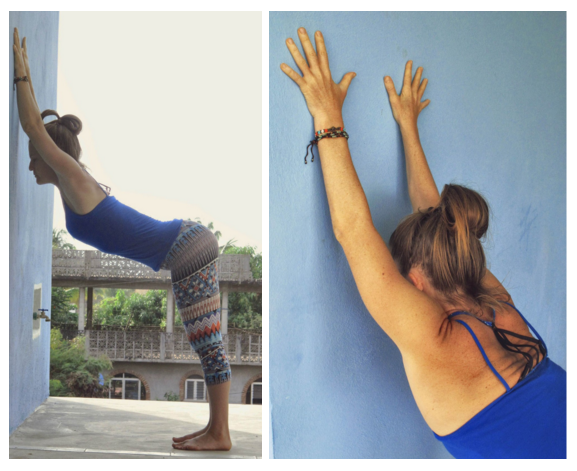
4. Stretch your shoulders! (See 3 best shoulder stretches blog post).
Keeping your elbows shoulder width apart and your ribs in, walk your hands up a wall and stretch your armpits toward the wall. You can also do this kneeling in front of a bench or table.
5. Invert your handstand.
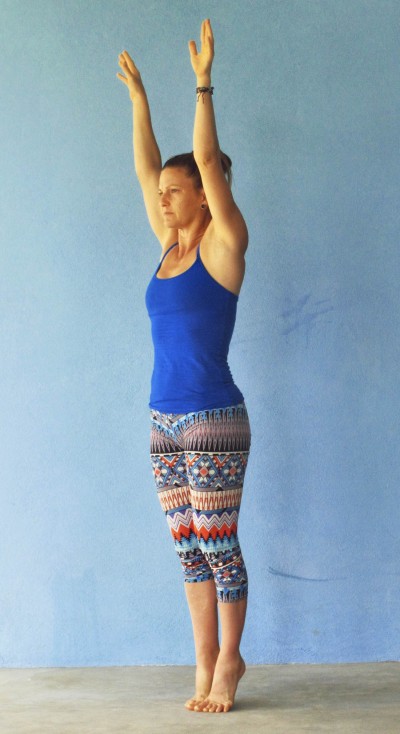
Stand on your tip toes with your legs squeezing together, your ribs in, and your arms up by your ears. Squeeze and lift everything for 1 minute.
Now it is time to do a handstand.
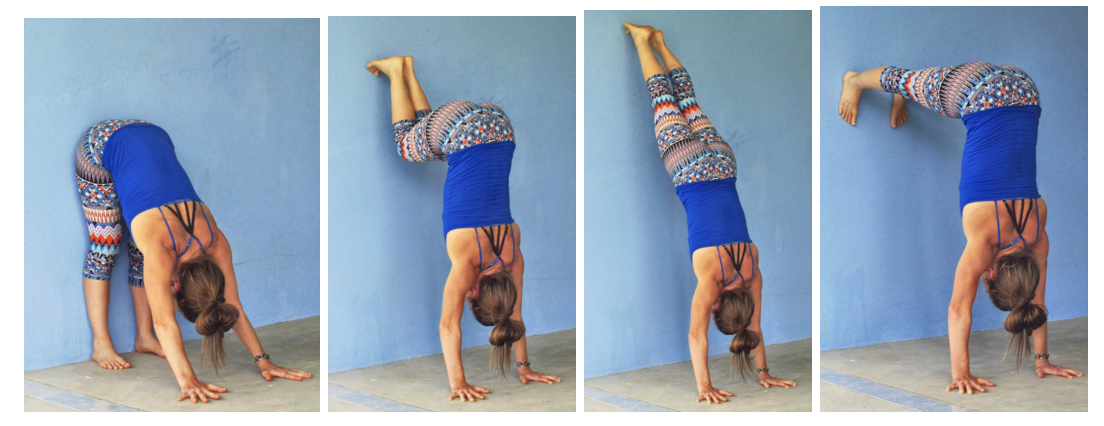
6. Start in downward dog with your heels against a wall.
You might want to walk your hands closer to the wall. Push into your hands and press your armpits toward the wall(straightening your shoulders). Then walk your feet slowly up the wall as high as you want. Start by walking up and down the wall a few times. When that feels comfortable, try holding with your legs up high for as long as you can. For a more advanced challenge, walk your feet down to hip level and make a right angle with your body without arching your back.
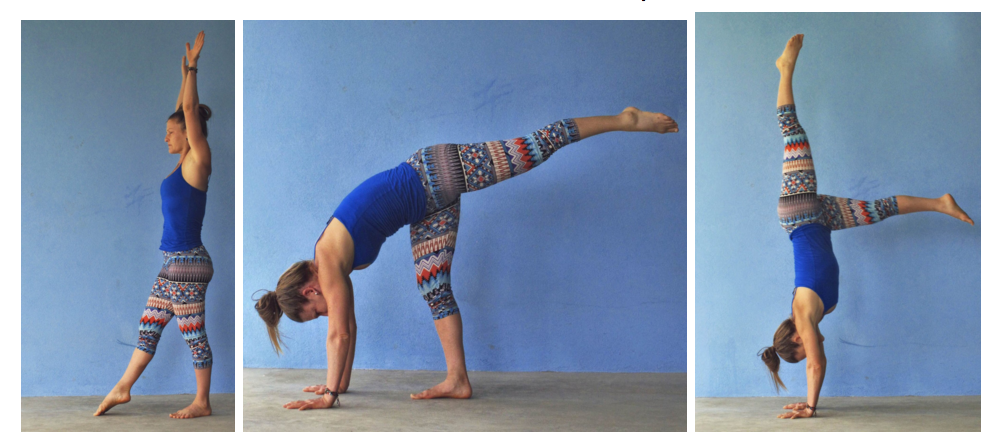
7. Practice kicking legs up from a standing position.
Think about pouring your weight into your hands as you kick one leg up. Keep the other leg low so your legs form an “L” shape. Practice kicking up from both sides. Don’t try to go up too high at first. Keep it low and easeful. Use this exercise to get the feel of pouring your weight from feet to hands to feet. Relax and have fun with this. If you are nervous, you can do this exercise with a wall or crash mat behind you.
8. Use a wall to look for a balanced line.
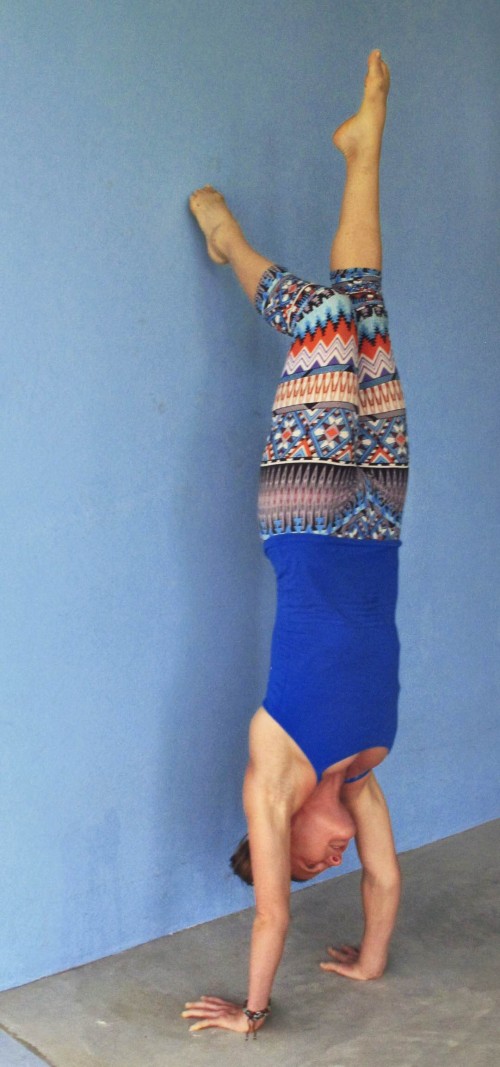
Once you can kick up to a handstand, find a wall and kick up with your fingers about 1 foot from the wall. Bend one knee just enough to touch the wall keeping both knees together. Focus on stacking your bones and keeping your body in a straight line. If you have access to a mirror, place it so you can see yourself in profile when you are in your handstand. You can also work with a friend to help each other get straight.
9. Pull your ribs in, look between your hands, and push like hell!
Try to bring your shoulders over your fingers, and press the base of each finger (especially the first finger) down to flatten your hands. Keep everything straight – elbows, knees and back (no arching!). Hold as long as you can without breaking form.
10. Remember to take breaks between handstands to rest your shoulders and wrists.
Suggestions for breaks are: shake out your wrists, have a mini dance party, stretch your shoulders, hamstrings, and hips, or text your friend the picture you just took of yourself doing a handstand!!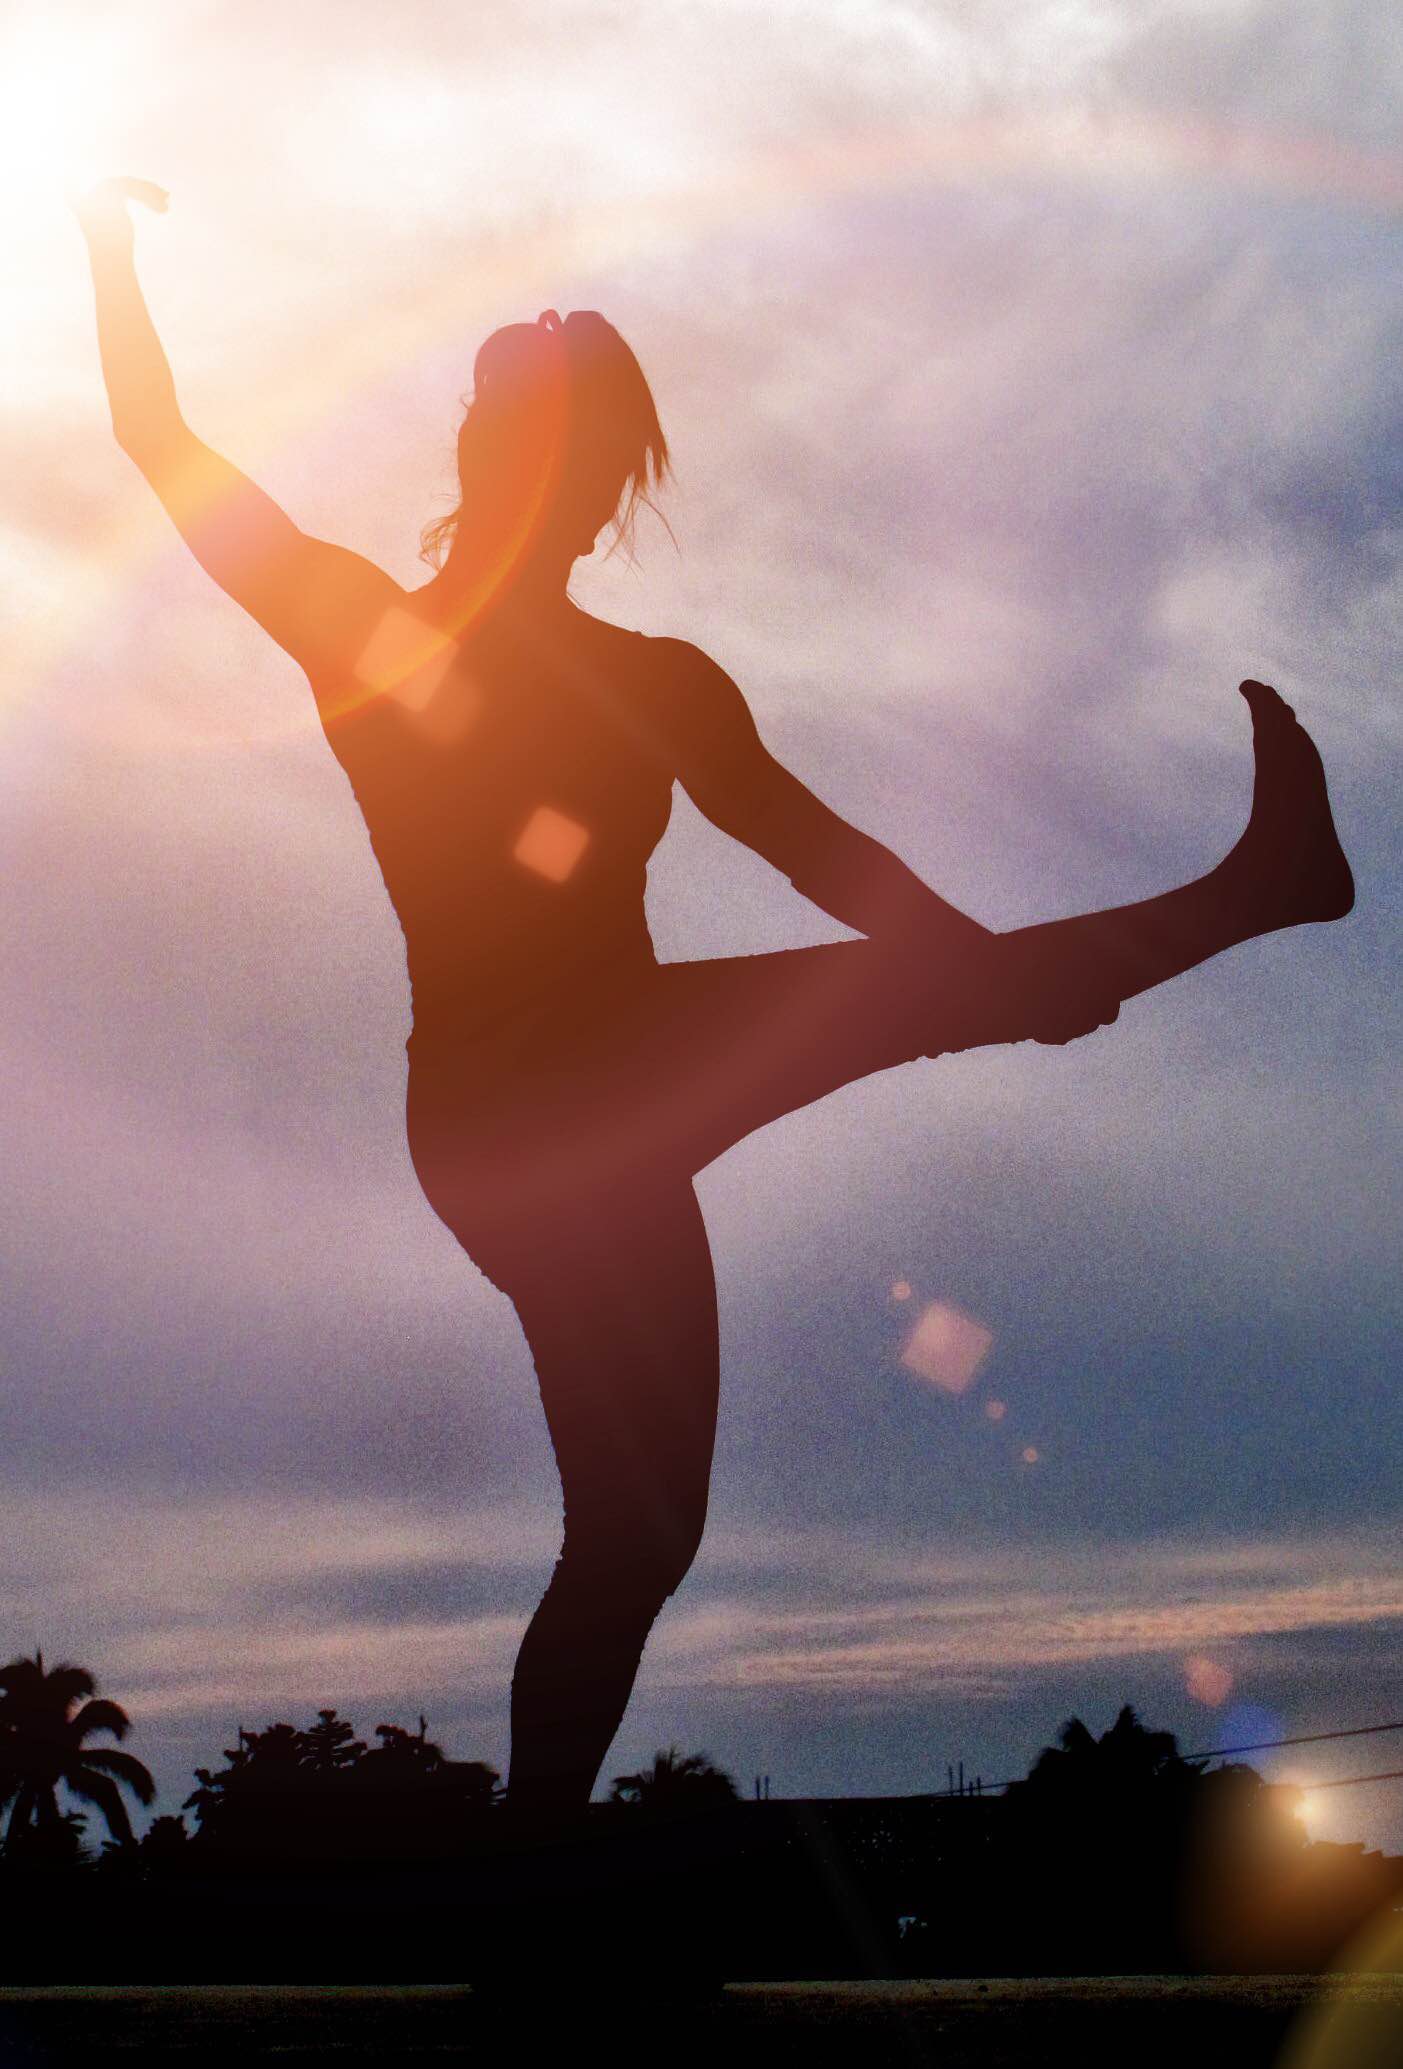
Check out my FREE Circus Fit Video Tutorials HERE.
Sign up for one of our upcoming Aerial Intensive Retreats & Workshops.
Did you like this post? Sign up here for updates on our upcoming trainings, retreats and workshops.

